
Easy!Appointments is a powerful open-source appointment scheduling application built with PHP and the CodeIgniter 3 (CI3) framework. Out of the box, it provides a full booking flow, admin dashboard, and APIs — but sometimes you’ll want to extend it with your own pages (for example, a FAQ, About page, or custom reporting view).
In this tutorial, we’ll walk through how to add a custom page to Easy!Appointments while keeping with CI3’s MVC structure. You may use the framework documentation as the main guide for more information related to the framework.
https://developers.easyappointments.org/framework
1. Know the File Structure
Easy!Appointments follows CodeIgniter 3’s layout:
application/
    controllers/
    models/
    views/
    ...
assets/
system/
index.php
When adding a custom page, you’ll mainly work in:
application/controllers/→ Handles the route & logicapplication/views/→ Your HTML/PHP outputapplication/config/routes.php→ Maps URLs to controllers
2. Create a Custom Controller
Let’s say we want to add a CustomContent page.
Create a new controller file:
application/controllers/CustomContent.php
<?php defined('BASEPATH') or exit('No direct script access allowed');

class Custom_content extends EA_Controller
{
    public function __construct()
    {
        parent::__construct();
        // Load helpers, libraries, or models if needed
        $this->load->library('accounts');
        $this->load->library('timezones');
    }

    public function index()
    {
        session(['dest_url' => site_url('custom_content')]);

        $user_id = session('user_id');

        if (cannot('view', PRIV_USER_SETTINGS)) {
            if ($user_id) {
                abort(403, 'Forbidden');
            }

            redirect('login');

            return;
        }

        $role_slug = session('role_slug');

        script_vars([
            'user_id' => $user_id,
            'role_slug' => $role_slug,
        ]);

        html_vars([
            'page_title' => 'Custom Content',
            'active_menu' => PRIV_SYSTEM_SETTINGS,
            'user_display_name' => $this->accounts->get_user_display_name($user_id),
            'privileges' => $this->roles_model->get_permissions_by_slug($role_slug),
        ]);

        $this->load->view('pages/custom_content');
    }
}
This defines a new controller named Custom_content with a default index() method.
3. Add a View File
Next, create the view file for the page:
application/views/pages/custom_content.php
<?php extend('layouts/backend_layout'); ?>
<?php section('content'); ?>
<div id="custom-content-page" class="container backend-page">
<div id="custom-content" class="col-lg-8 offset-lg-2">
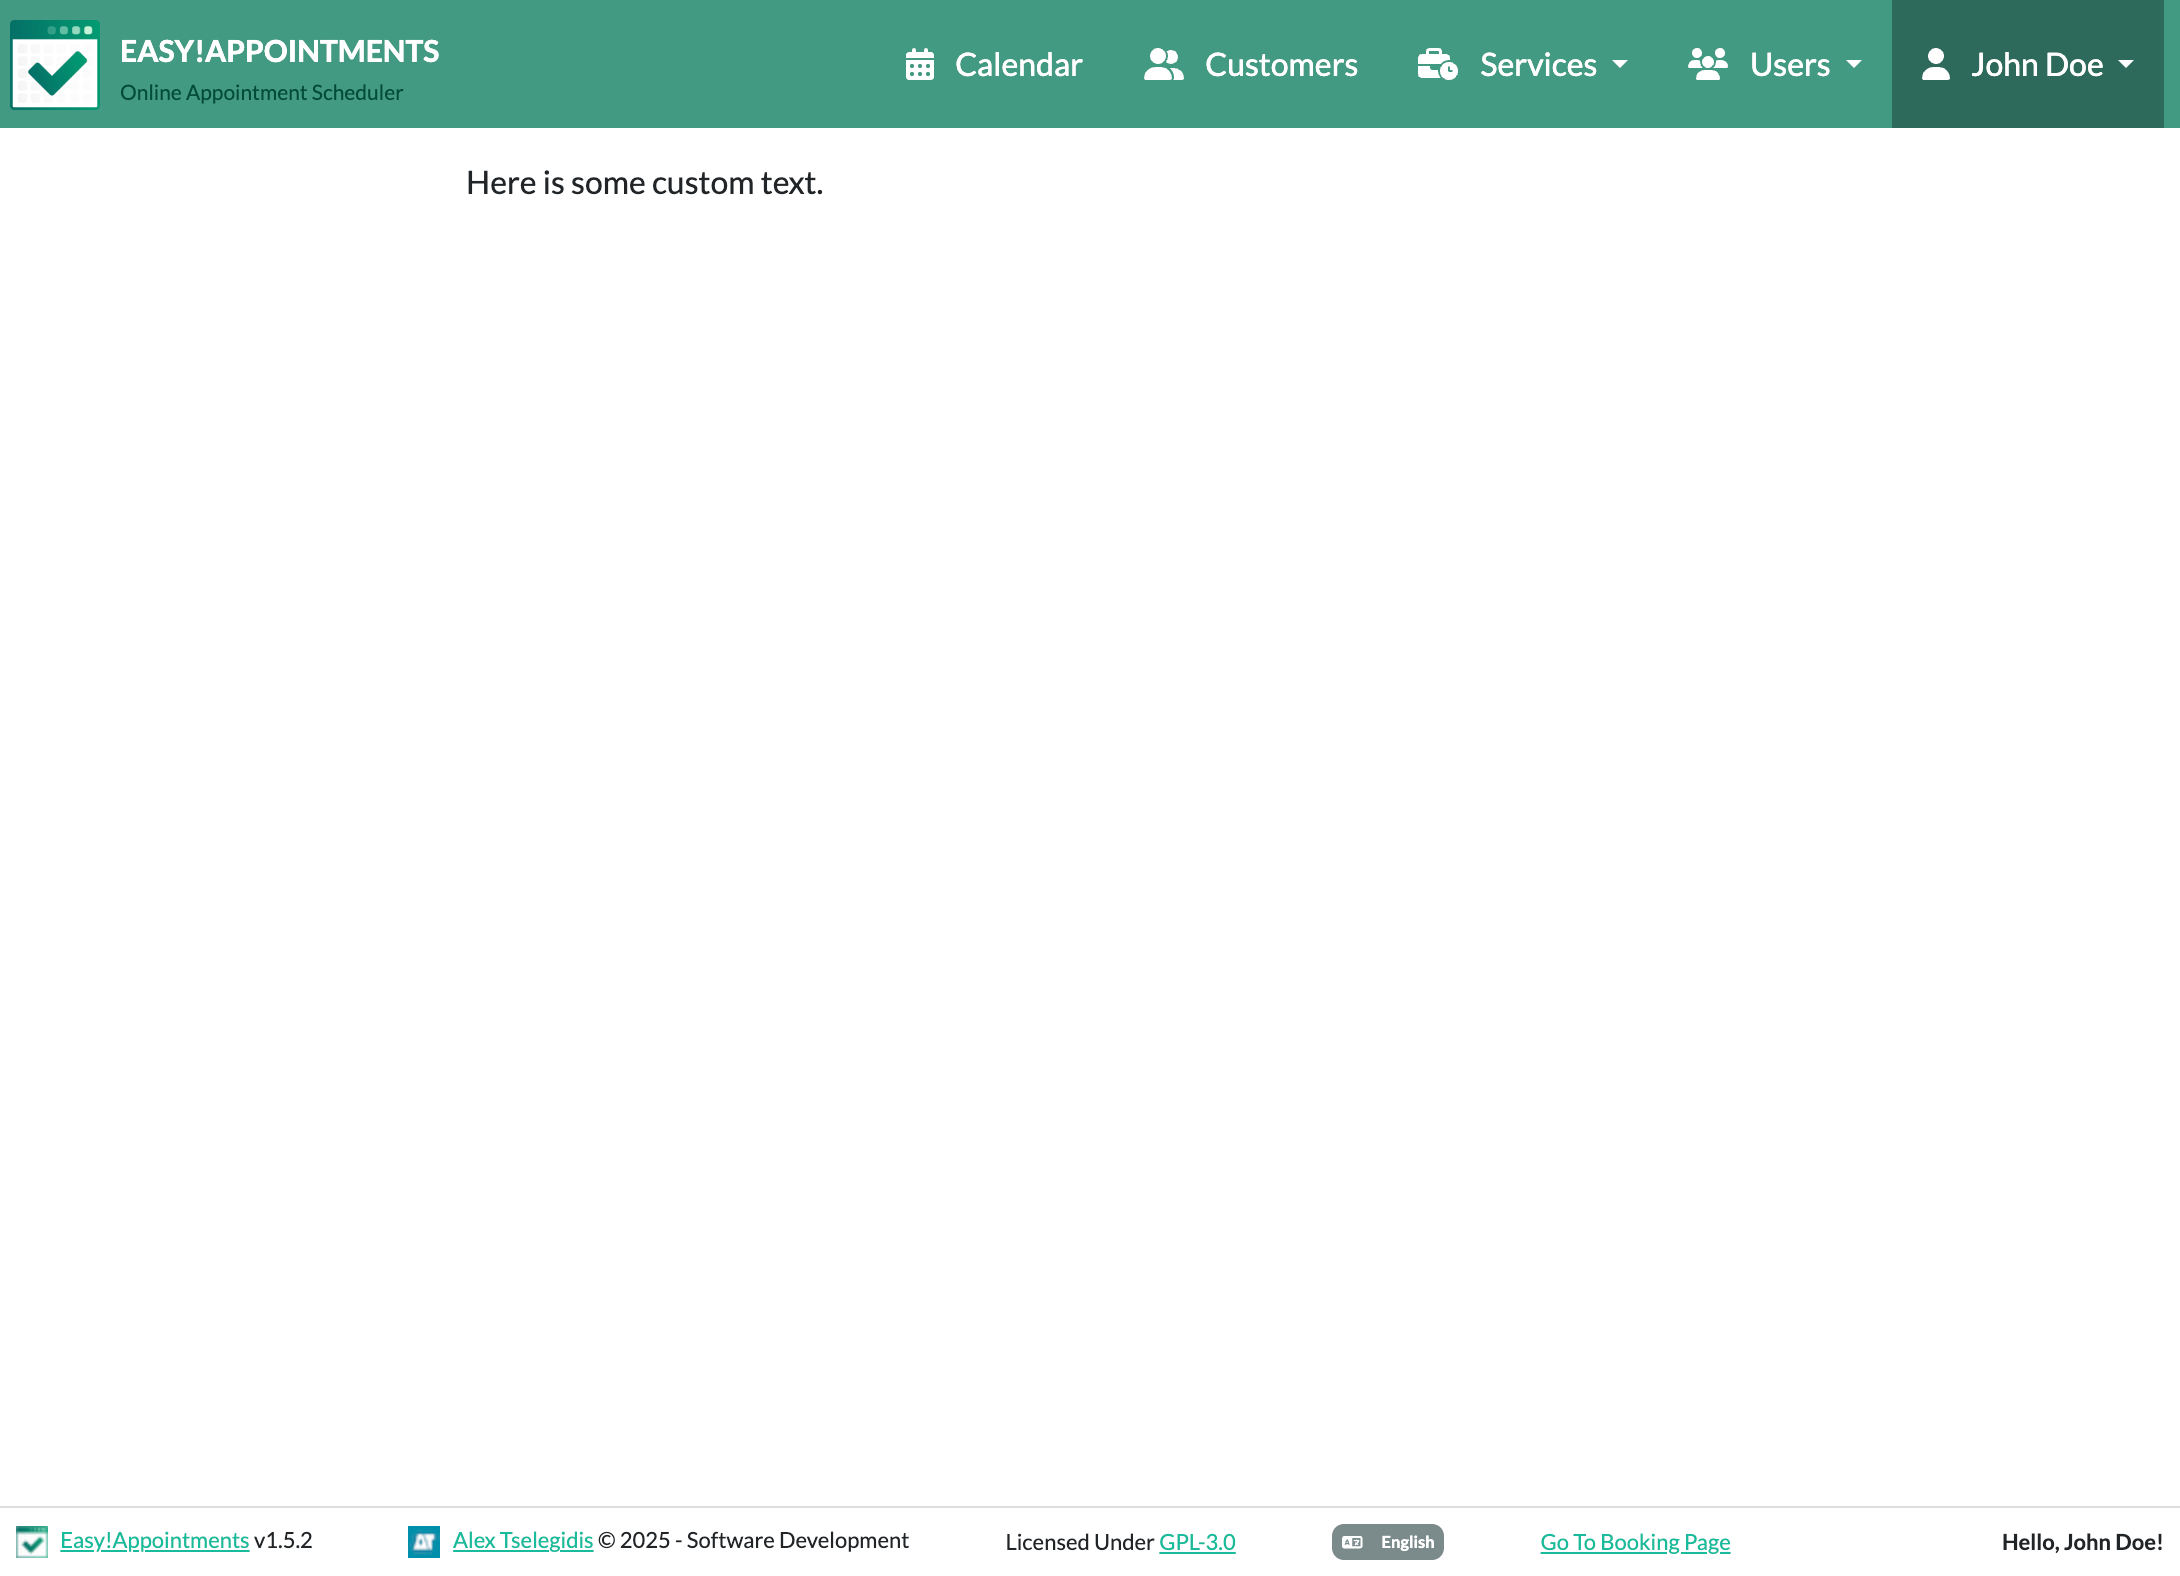
Here is some custom text.
</div>
</div>
<?php end_section('content'); ?>
You can reuse Easy!Appointments’ CSS, or build your own styling.
4. Define a Route
To make the page accessible, edit:
application/config/routes.php
Add this line:
$route['custom_content'] = 'custom_content/index';
Now visiting https://yourdomain.com/index.php/custom_content will load the new page.
5. (Optional) Remove index.php from URLs
If your Easy!Appointments install supports mod_rewrite, you can remove index.php from the URL by editing .htaccess. This makes the custom page accessible via:
https://yourdomain.com/custom_content
6. Wrap-Up
That’s it! You’ve added a custom page to Easy!Appointments:
- Controller in
application/controllers/ - View in
application/views/ - Route in
application/config/routes.php
From here, you can extend further — e.g., connect to existing models, use CI3 helpers, or integrate with the appointment system itself.
✅ Pro Tip: Keep your changes in version control so future Easy!Appointments updates don’t overwrite your customizations.
Going Premium
Did you read this article, but you’re still not sure on how to proceed?
Reach out to info@easyappointments.org and have an expert take care of everything for you in zero time.
Get your free quote and get started now!