The Easy!Appointments installation is pretty simple, and in this post you will learn how to install Easy!Appointments on Plesk. If you have a hosting account with Plesk, you can easily install Easy!Appointments without much hassle. Follow this step-by-step guide to get it up and running.
Prerequisites
Before starting, ensure you have:
- A hosting account with Plesk access
- A MySQL database and user
- A domain or subdomain ready for installation
- FTP access or File Manager in Plesk
Download Easy!Appointments
- Download the latest package from the homepage of Easy!Appointments
- Save the zip file in your local computer (will be used later)
Upload Files to Plesk

- Log in to your Plesk account
- Navigate to File Manager and open the directory where you want to install Easy!Appointments (e.g.,
public_html/appointments) - Click Upload and select the zip file from your local computer
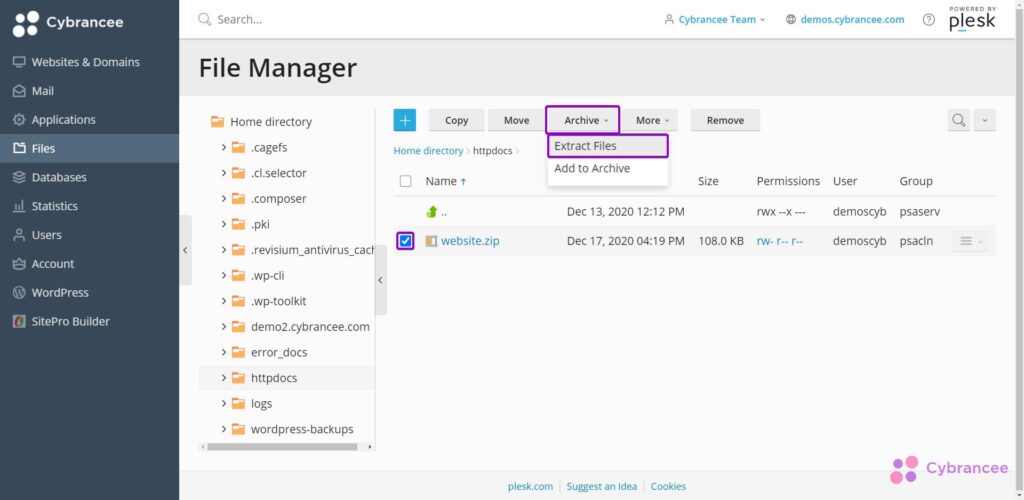
- Once uploaded, extract the ZIP file from the File Manager of Plesk
Create a MySQL Database
- In Plesk, go to MySQL Databases
- Create a new database (e.g.,
easyappointments) - Create a database user and assign a strong password
- Assign the user to the database with All Privileges

Configure the Application
- Navigate to the Easy!Appointments installation folder in File Manager
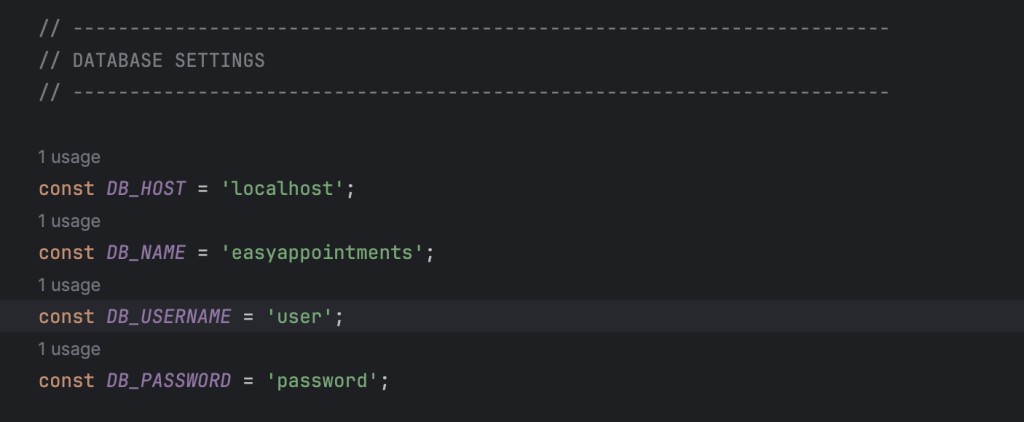
- Locate the
config.phpfile inside therootfolder - Edit the file and update the database connection settings
- Save and close the file
Set Up Database Tables
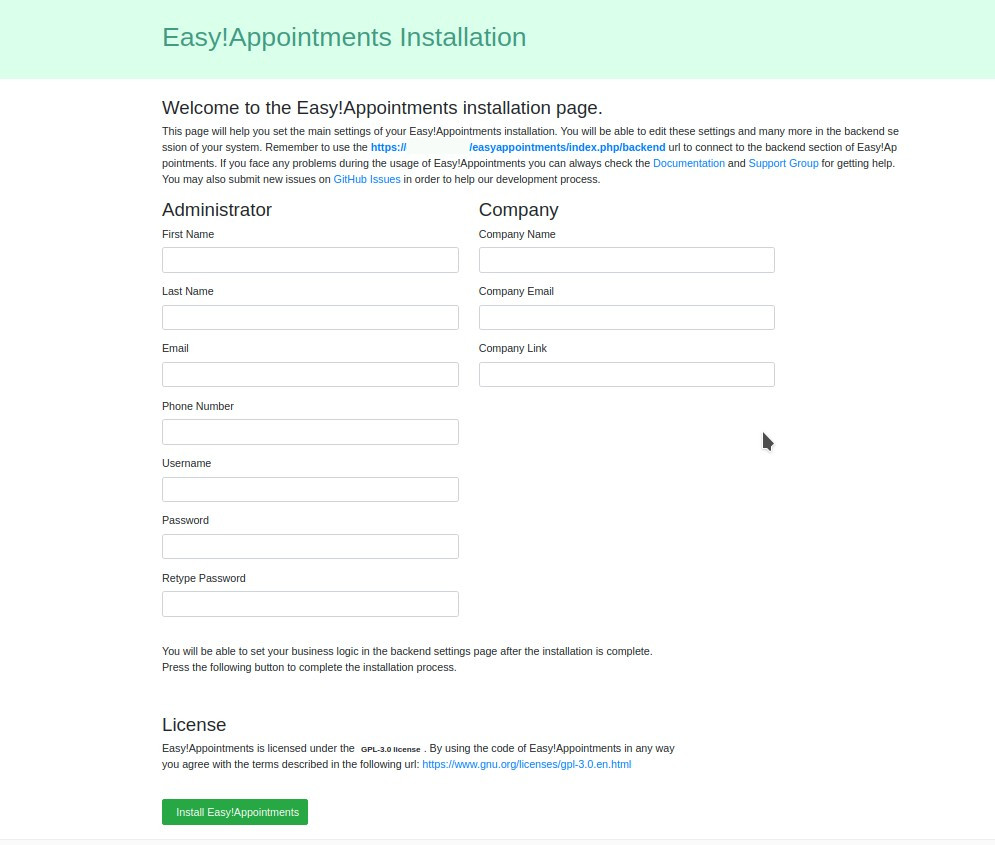
- Open the installation URL in your browser
- Fill and submit the installation form
Set Up Cron Jobs (Optional)
To enable automatic tasks such as appointment reminders, set up a cron job in Plesk:
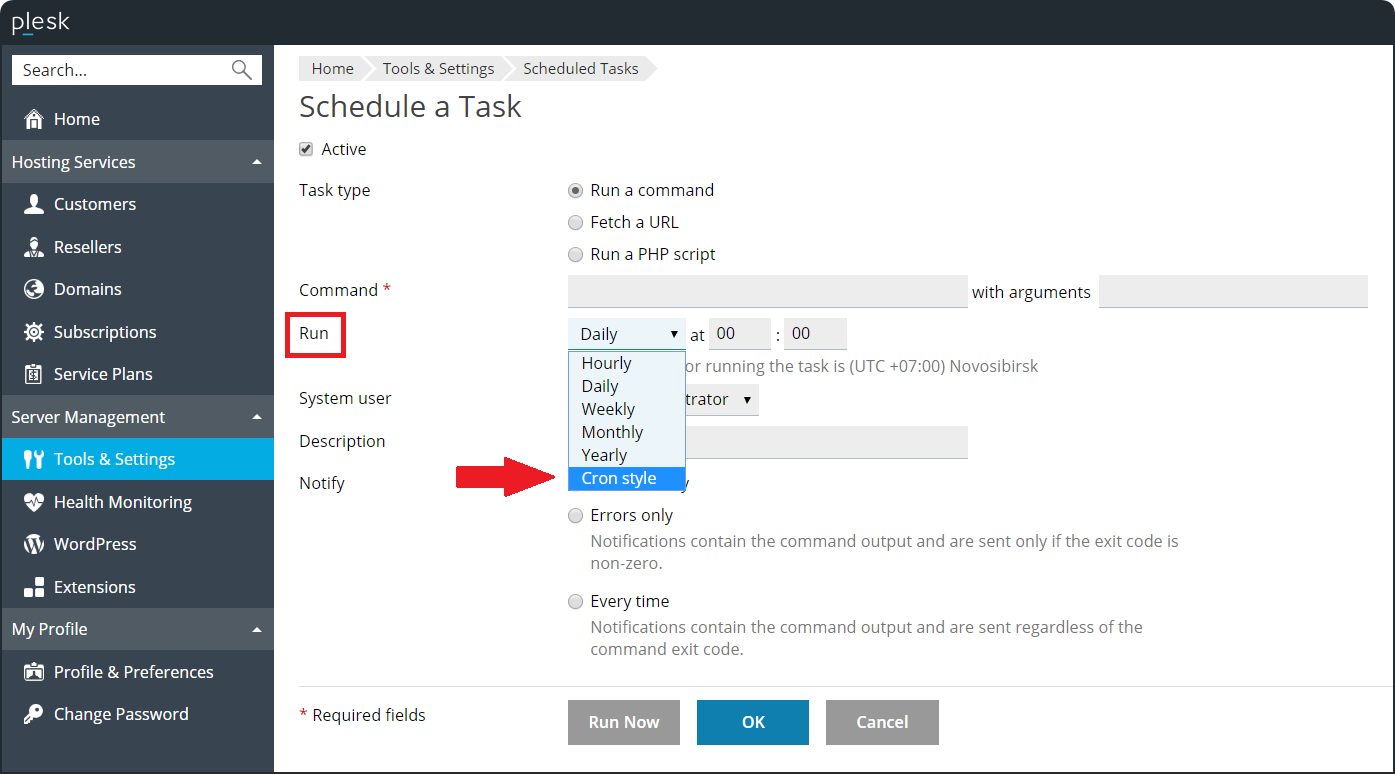
- Go to Cron Jobs in your Plesk
- Add the following command to run every 5 minutes:
php index.php console sync
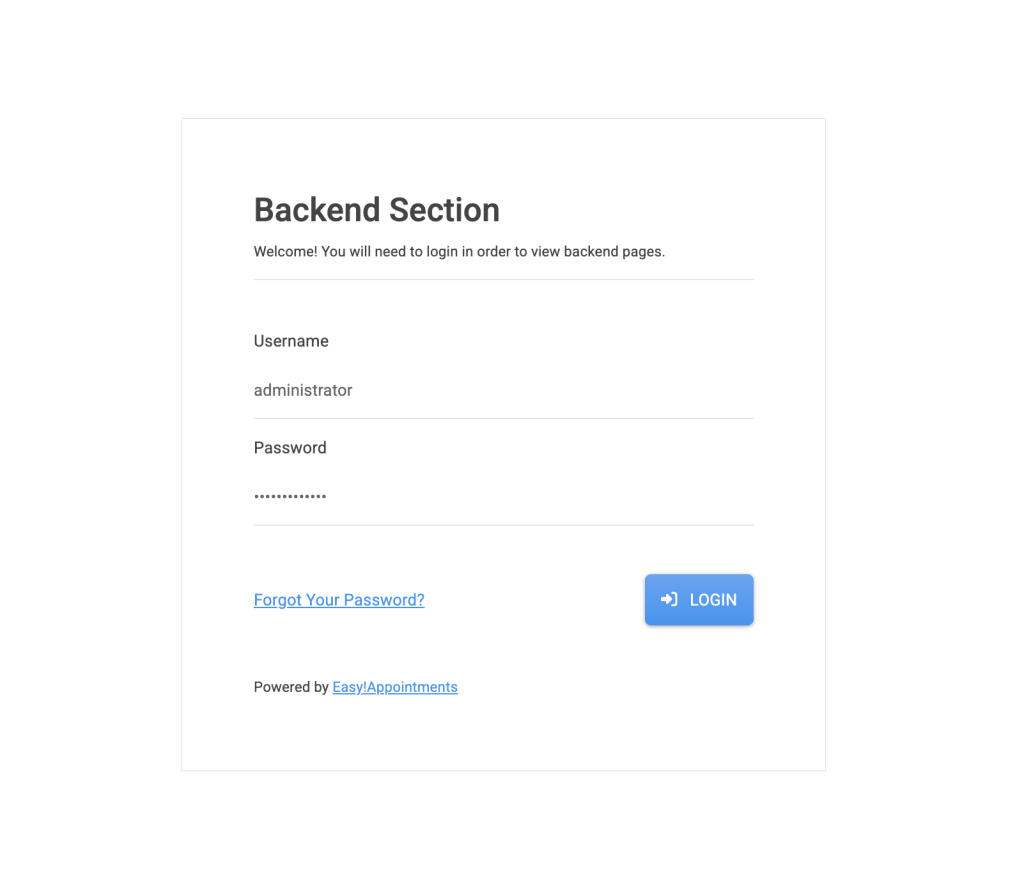
Access Easy!Appointments
Now, visit your domain or subdomain (e.g., https://yourdomain.com/appointments) and log in using the default admin credentials:
- Username: your-username
- Password: your-password
Conclusion
Congratulations! You have successfully installed, Easy!Appointments using Plesk. Configure your business details, set up services, and start scheduling appointments. For further customization, refer to the official documentation.
Going Premium
Did you read this article, but you’re still not sure on how to proceed?
Reach out to info@easyappointments.org and have an expert take care of everything for you in zero time.
Get your free quote and get started now!