As an open source project Easy!Appointments has all its source code available on GitHub, one of the most popular collaboration platforms. Fellow developers and contributors can star and fork the project and provide their own contributions by submitting issues, participating in community discussions and creating pull requests. This article aims to help you get started with a fresh new git clone of Easy!Appointments.
Setting Up Your Environment
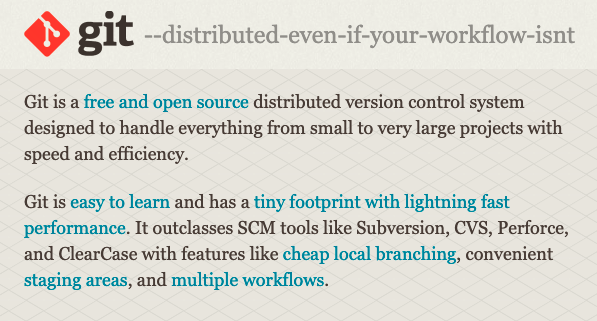
Git is the first thing you will need to install on your machine. There are many git clients available on the web that work in a CLI environment or provide a GUI. The official one is available for download from git-scm.com.
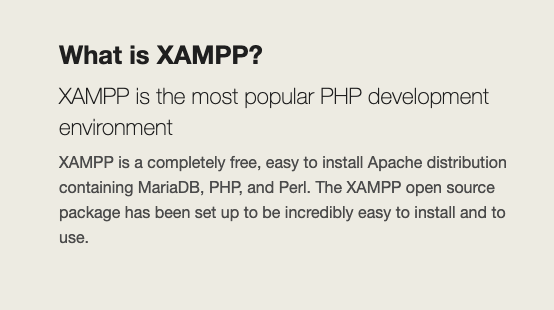
The second thing to do is to make sure you have a working PHP and MySQL/MariaDB environment, something that can be achieved in many different way (e.g. pre-bundled stacks such as XAMPP, WAMP, MAMP etc, native installations, docker etc). The easiest way to get started is to use the XAMPP project, as they offer support for all the operating systems.
Last but not least, you will need to install Node with NPM and Composer to manage the dependencies and building of the project.
Cloning The Project
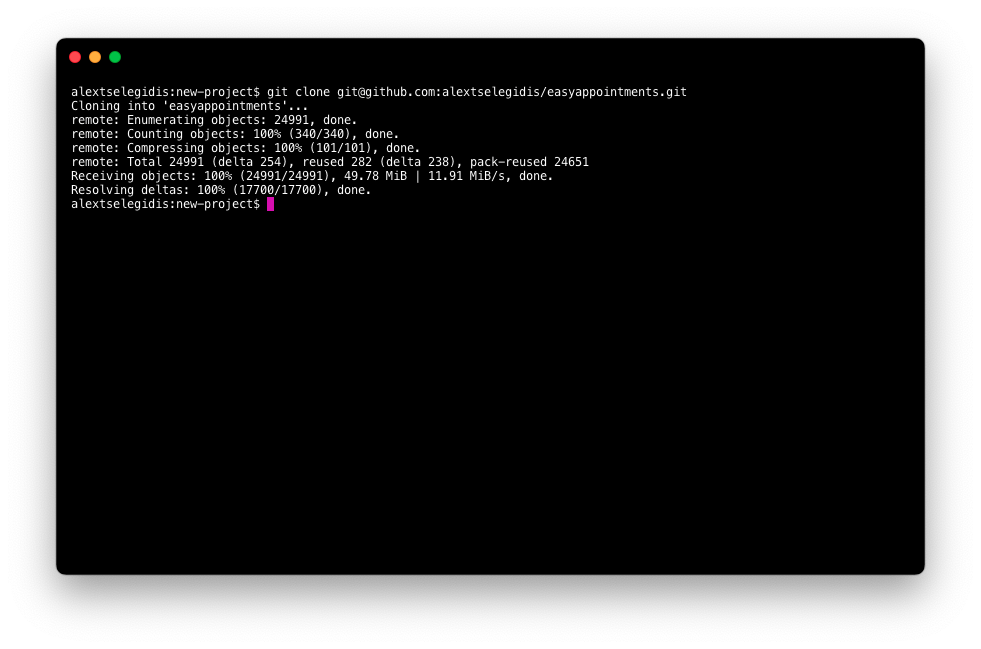
Before you start working on the code, you will need to check out the latest development state. Git provides an easy way to do that by using the clone command.
git clone https://github.com/alextselegidis/easyappointments.gitAlternatively if you already have configured an SSH key for your project you can use the following command to grab the latest code state.
git clone git@github.com:alextselegidis/easyappointments.gitThis command will create a new directory called easyappointments, that contains the latest code state of the master branch.
Dependencies & Assets
The next step includes the installation of the required project dependencies and the build process of assets. Since dynamically including assets to a project has proven to be more efficient than manually managing them, those dependencies are being ignored and are not pushed to the repository. Execute the following command to grab the required files.
composer install && npm installFinally you will need to build the minified files which are meant to be used on production (for better performance).
npm run buildAdditionally you can also start the file watcher that will automatically build the changed files whenever you change them.
npm run dev This is particularly helpful while working on the code and making changes to JavaScript or CSS files.
Installing Easy!Appointments
Once all the previously mentioned steps are completed, you will be available to install the application by following the official pre-built package installation steps.
Going Premium
Did you read this article, but you’re still not sure on how to proceed?
Reach out to info@easyappointments.org and have an expert take care of everything for you in zero time.
Get your free quote and get started now!